
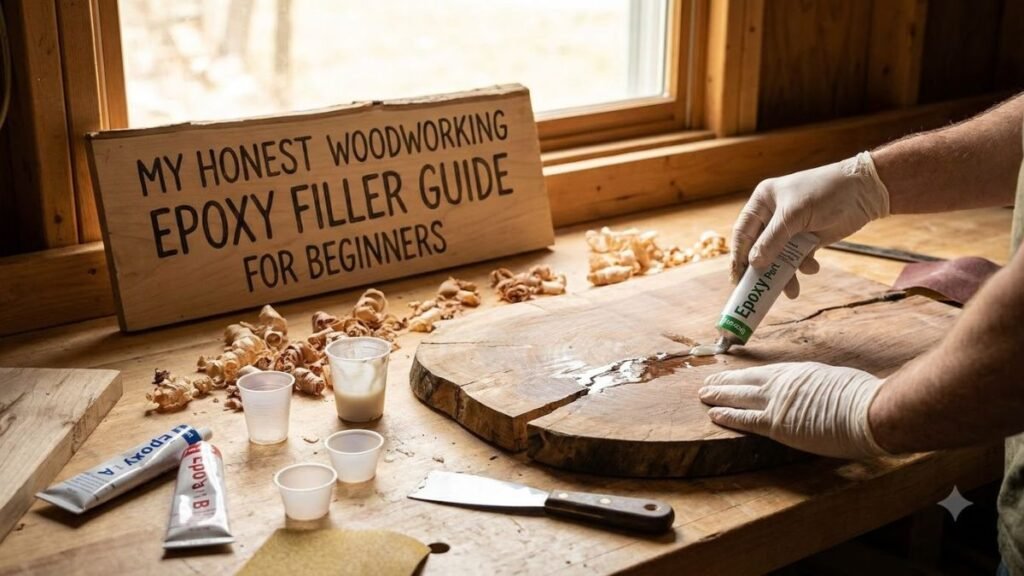

Okay so last month my old wooden stool leg just cracked while I was sitting on it, and honestly I got little scared thinking will I have to throw this whole stool. That is when my neighbour uncle, he does small furniture work, told me to try woodworking epoxy filler for fixing it. I was like, what even is this thing, I never used it before in my life. So I bought a small budget pack from local hardware shop and just tried it on my own, and guess what, it actually worked better than I thought.
Since that day I keep using this filler for almost every small wood crack or hole in my house projects. And today I want to share my full experience, mistakes, and simple steps so you also can use woodworking epoxy filler easily even if you are a complete beginner like I was few months back.
What Actually Is Woodworking Epoxy Filler
In very simple words, woodworking epoxy filler is a two part mixture, one part is resin and other is hardener. When you mix both together, it becomes thick paste which you can press into cracks, holes or gaps in wood.
Once it dries, this epoxy filler becomes rock hard, almost like real wood. You can sand it, paint it, even drill into it later. This is different from normal wood putty which stays little soft even after drying.
Many people online use fancy words to explain this stuff but honestly it is just a strong glue type paste which fills wood damage permanently. Thats it, nothing more complicated than this.
My First Time Using It
I remember mixing it wrong first time. I added too much hardener thinking it will dry faster lol. Result was my mixture became rock hard in like 2 minutes only, before I even applied it properly on the crack.
So lesson learned, always follow the ratio written on pack, dont try to be smart like me. Second time I mixed correct ratio and it worked so smooth, I was actually surprised how easy woodworking epoxy filler is once you know the right way.
Woodworking Epoxy Filler vs Normal Wood Putty
This confused me a lot in starting. So let me explain simple.
Wood putty stays soft and flexible, mostly used on finished wood surface for small nail holes. On the other hand epoxy wood filler dries super hard and its best for raw or damaged wood, specially where structure is weak or broken.
As explained in this detailed wood putty vs wood filler comparison, wood putty is best for repairing cracks and small holes on finished woodwork. This basically means if your wood is broken structurally, epoxy filler is the correct choice, not putty.
I learned this after wasting money on wrong putty first, so please dont repeat my mistake friends.
Best Budget Friendly Options
Now since our focus is budget friendly approach for complete beginners, here some options that wont hurt your pocket much.
Bondo wood filler is quite popular and cheap option for beginners. Another good budget pick is from DAP brand, which many DIY people in USA trust for small home repairs. According to the official DAP Plastic Wood Epoxy Filler product page, DAP Plastic Wood Epoxy Filler is a premium 2-component epoxy specially formulated for superior wood restoration, and this versatile filler is weatherproof and waterproof, making it ideal for both interior and exterior applications. This is actually great option if you want something reliable without spending too much.
If you have very small budget, even small tube pack of any basic wood epoxy filler works fine for tiny household repairs like drawer cracks or chair legs.
I personally never bought expensive branded stuff, small budget packs worked perfectly fine for my home projects till now.
Tools You Need Before Starting
Before using woodworking epoxy filler, keep these ready near you, otherwise you will run around house like I did first time.
Small mixing tray or old cardboard piece, plastic spatula or old spoon, sandpaper (120 and 220 grit both), gloves compulsory because this stuff sticks badly on skin, and old cloth for cleaning.
You dont need any fancy tool honestly, just basic stuff from your kitchen drawer also works for mixing it if you dont have proper tools yet.
If you are also planning bigger epoxy based projects later, you might want to check my other guide on best woodworking epoxy resin for beginners where I explained resin work separately from filler work.
Step By Step, How I Use It At Home
Step one, clean the crack or hole properly. Remove any loose dust, dirt or old paint from area where you want to apply the filler.
Step two, mix both parts of woodworking epoxy filler in equal ratio, usually written on packaging. Mix till colour becomes uniform, no streaks left.
Step three, apply the mixed paste using spatula, press it firmly into crack so no air gap remain inside.
Step four, slightly overfill the area because this filler shrinks little bit while drying, this I learned after doing it flat first time and getting small dip later.
Step five, let it dry completely, usually takes few hours depending on brand, dont rush this part even if you feel excited to sand it.
Step six, once fully cured, sand the surface smooth using sandpaper, start with rough grit then finish with fine grit for smooth surface.
For more detailed technical steps you can also see my earlier post on woodworking epoxy 7 step guide where I go litle deeper into mixing ratios and curing time.
Mistakes I Made With This Filler
Mixing wrong ratio, I already told you about this disaster.
Not wearing gloves, my hands were sticky for almost whole day, very irritating experience honestly.
Applying it in cold room, it took forever to dry because temperature was too low, nobody told me this before.
Sanding too early before proper curing, this just ruined the finish and I had to redo whole thing again, wasted extra material too.
Quick Tips For Smooth Finish
Always work in warm room, epoxy filler cures faster and better in normal room temperature, not too cold not too hot.
Mix small batches only, because once mixed, it starts hardening quickly and you cant use leftover mix later.
Use wet finger or spatula tip to smooth surface before it fully hardens, saves lot of sanding work later.
I also read somewhere that most standard fillers and putty are mainly cosmetic and dont add much strength back to wood, epoxy based filler is different because it actually bonds and rebuilds structural strength, which is exactly why I now trust woodworking epoxy filler for any repair where wood needs actual strength back, not just looks.
Is It Worth Buying For Beginners
Honestly yes, if you ask me. For the price you pay, woodworking epoxy filler gives you strong, long lasting repair which normal filler simply cannot match.
If you are just starting your DIY journey on tight budget, I already wrote a full guide on how to start woodworking with low budget which also touches upon which materials, including fillers, are worth spending on first.
This epoxy filler might feel litle costly compared to basic filler in shop, but trust me, it saves money in long run because you wont need to redo repair again and again.
FAQs
Is epoxy filler better than regular wood filler? For strength and moisture resistance yes, woodworking epoxy filler is much stronger, but for small cosmetic touch ups regular filler works fine too.
Can beginners use woodworking epoxy filler easily? Yes, its actually quite beginner friendly if you follow correct mixing ratio and dont rush the drying process.
How long does it take to dry? Usually few hours to full day depending on brand and room temperature, always check the pack instructions first.
Can I paint or stain over woodworking epoxy filler? Yes, once fully cured and sanded smooth, you can paint or stain it, though some brands accept stain better than others.
Final Thoughts
So thats basically my whole journey and honest experience with woodworking epoxy filler. It was confusing first, I made silly mistakes, but now it is one of my favourite budget friendly tool for fixing small wood problems at home.
If you are complete beginner reading this, just remember, dont rush the mixing, dont rush the drying, and always keep gloves ready. This stuff is honestly not that hard once you actually try it with your own hands.
I hope my confusion and mistakes help you avoid same problems. If you try woodworking epoxy filler after reading this, let me know how it goes for you, I genuinely love hearing from fellow beginner woodworkers like us.