
Hii friends, Udit here again from easydiywood.com. So few days back my mother was keeping bread on kitchen counter and it turned hard like a stone in just 2 days, and she was like “beta banao na kuch iske liye”. That is honestly how I got into making my first woodworking bread box, not because I was some expert, I was not, I am still not fully, but I just wanted to try.
If you are searching woodworking bread box plans and getting confuse seeing all those router bits and table saws and mortise tenon joints on other blogs, dont worry, same happened to me too. This post is written for us normal beginner people who dont have fancy tool shop in garage.
I am keeping this whole thing budget friendly, because thats how I actually build things, with whatever cheap wood I get from local hardware shop.
What Exactly Is A Woodworking Bread Box (And Why Even Bother)
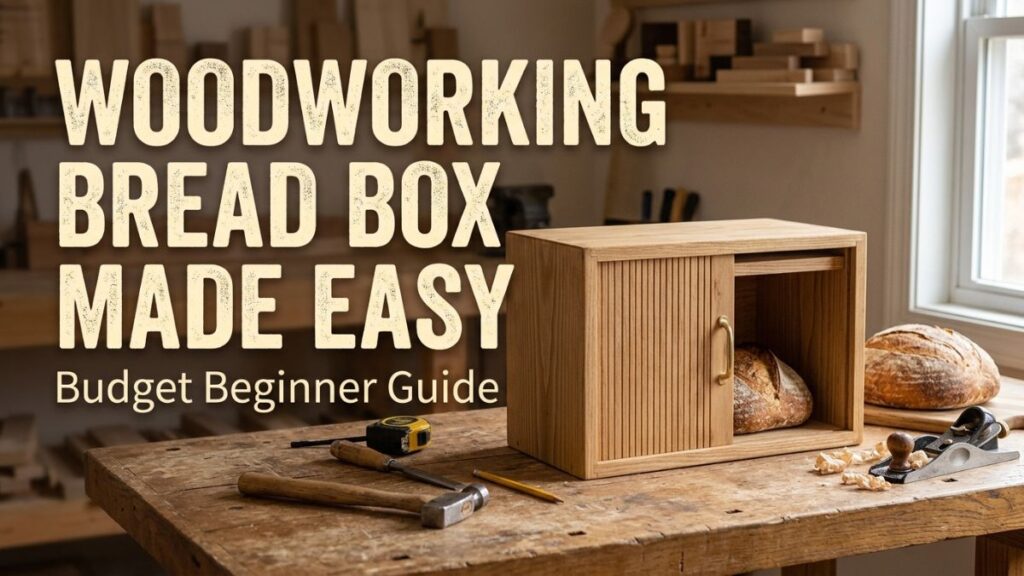
A woodworking bread box is basically nothing but a small wooden container, mostly with a door or lid, made to keep your bread and rolls fresh for longer time. It is not some rocket science, it is literally just a box.
The reason people make woodworking bread box at home instead of buying plastic one from market is because wood breathes a little. It lets some air pass so bread don’t turns soggy or moldy too fast, but also don’t dries out completely like leaving it open on counter.
Also honestly, a wooden bread box just looks nice on kitchen counter. Plastic one looks cheap, no offense.
Tools You Actually Need For A Budget Woodworking Bread Box
Now this is where most blog post make beginners scared. They show table saw, router table, bandsaw, jointer planer, so many machines. For a complete beginner woodworking bread box project, you do not need all that, trust me on this one.
Here is what I actually used, cheap and simple:
Hand saw or a small cheap circular saw Measuring tape and pencil Sandpaper, different grits like 120 and 220 Wood glue, any carpenter grade one Small nails or screws Hinges, 2 small ones for door A drill machine, even a cheap 500 rupee wala hand drill works if you dont have power drill
Thats it basically. No router needed, no pocket hole jig needed for this beginner version. I know some fancy plans use pocket holes and plexiglass doors but we skiping all that for now. If you are just starting out and dont even have basic tools yet, I actually wrote a full guide on how to start woodworking with low budget which explains what tools to buy first without spending too much money.
If you are just starting out and dont even have basic tools yet, I actually wrote a full guide on how to start woodworking with low budget which explains what tools to buy first without spending too much money.
Best Wood For Woodworking Bread Box On A Budget
This part confuse me a lot when I started. So many wood names, pine, oak, maple, walnut, plywood. Which one to pick for a cheap woodworking bread box build?
Honestly for beginners, go with pine wood or basic plywood. Both are cheap, easily available, and soft enough to cut with hand tools. Oak and maple look premium but they are heavy on pocket and harder to cut without machines.
If your budget allows little extra, go for a 1×8 or 1×10 pine board, around 6 feet long is more than enough for one small woodworking bread box.
Avoid MDF board though, it don’t handles moisture well and bread box needs some air and moisture resistance. If you want to actually understand different wood types properly before buying, check out The Wood Database, it has really detailed info on which woods handle kitchen humidity better and which one splits easy.
Budget Breakdown, How Much Woodworking Bread Box Actually Costs
Ok real talk time. I spend roughly around 800 to 1200 rupees total on my first woodworking bread box, which converts to something like 10 to 15 dollars if you buying in USA with cheaper big box store wood.
Wood board, around 5 to 7 dollars Hinges and small hardware, 2 to 3 dollars Glue and sandpaper, already had it, but budget 3 dollars if buying new Screws or nails, less than 1 dollar
So total budget friendly woodworking bread box cost comes around 10 to 12 dollars if you already own basic tools. Not bad na for something that looks handmade and nice.
Step By Step, How I Built My Woodworking Bread Box
Ok now the actual building part. I am keeping measurments simple here, roughly 16 inch wide, 9 inch deep, 10 inch tall, but you can adjust based on your bread size.
Step 1, Cutting the base pieces
First cut your bottom board, two side boards, a back board. Dont worry about perfect precision here, small beginner mistake is fine, this is not furniture for exhibition.
Step 2, Cutting the angled top pieces
Most woodworking bread box designs have a slanted or curved top so door can open easily. For beginner version, just cut the side pieces with one simple angle cut, around 20 to 25 degree, using a miter box if you have one, or just mark with pencil and cut slow with hand saw.
Step 3, Assembling the box
Apply wood glue on edges, join bottom with two sides first. Let it dry maybe hour or two before moving forward, dont rush this part, I rushed mine first time and side came off next day, embarrassing moment honestly.
Then attach back board same way.
Step 4, Making the door
Simplest door style for a budget woodworking bread box is just a flat piece of wood attached with two small hinges at bottom, so it swings open like a drawbridge. No need for fancy plexiglass window unless you really want that later.
Step 5, Sanding everything
This step people skip but dont skip it. Sand all edges and surfaces with 120 grit first then finish with 220 grit. Your hands will thank you later, splinters are not fun with bread box that touches food.
Step 6, Attaching hinges and hardware
Screw the hinges to bottom of door and bottom of box front edge. Make small pilot holes first with drill so wood dont crack. If you are unsure about drilling technique or basic tool safety, OSHA’s woodworking safety guidelines actually explains safe drilling and cutting practices in very simple way, helped me feel more confident using tools properly as beginner.
Step 7, Finishing touch
Apply some food safe mineral oil or beeswax finish on inside, and any wood finish you like on outside. Avoid harsh chemical varnish inside since bread will touch that surface.
And basically thats your finished woodworking bread box, ready to sit proudly on kitchen counter.
Common Mistakes I Made (So You Dont Repeat Them)
Not letting glue dry properly before next step, biggest mistake, I was too excited Cutting angle wrong on one side only, making box look crooked Forgetting to sand inside corners, bread bag literally got stuck on splinter once Using screws too long that poked through other side, very awkward Skipping the vent holes at back, bread got little moldy smell after few days.
If you already tried few beginner projects before this and want more ideas in same budget friendly style, I have a full list of easy diy woodworking projects for beginners you can check after finishing this bread box.
Why I Actually Recommend This As First Project
See, woodworking bread box is honestly one of best starter projects because it teaches you basic box joinery, hinge installation, and finishing, without needing expensive machines. Once you build one woodworking bread box successfully, moving to bigger projects like shelves or small tables feels much less scary.
Plus, unlike a random cutting board, this one actually gets used daily in kitchen, so you see your own work every single day. That feeling, not gonna lie, is quite satisfying for a beginner.
My Honest Final Thoughts
I wont lie, my first woodworking bread box was not perfect, one side little uneven, door dont close 100% straight, but it works, and my mother actually uses it daily now, keeps her rotis and bread inside it. That mattered more to me than perfect corners.
If you are complete beginner reading this, just start. Dont wait for perfect tools or perfect wood. A budget friendly woodworking bread box built with basic hand tools is still hundred times better than not starting at all.
Try it this weekend maybe, and if you mess up first time like me, thats completely normal part of learning woodworking bread box building.
FAQs
What is the best wood for a bread box? Pine or plywood works best for beginners, cheap, easy to cut, and handles kitchen humidity decently well.
How do you keep bread fresh in a wooden bread box? Keep small air vents at back and dont store sliced bread with cut side up, this helps air circulate properly.
What size should a wooden bread box be? Around 16 inch wide, 9 inch deep, 10 inch tall works for most standard bread loaves and rolls.
Can beginners really build a bread box without power tools? Yes, hand saw, hand drill, and sandpaper are enough, it just takes little more time and patience.