
Okay so lets be honest, first time I picked up a marking gauge I had no clue what to do with it. I literally googled how to use a dovetail marking gauge like ten times before I even touched wood. If you are here doing same thing, dont worry friend, you are at right place.
I am Udit Das, I run easydiywood.com and I love making cheap wooden stuff at home. I am not some big carpenter with fancy degree, I just learn by doing mistakes, lots of mistakes actually. And today I want to explain how to use a dovetail marking gauge in the most simple way possible, no hard words, just plain talking like a friend would explain you.
This whole guide is on budget friendly approach too because not everyone (including me) can spend big money on premium tools when starting out.
What Even Is A Dovetail Marking Gauge
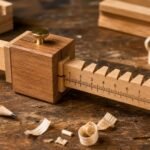
So basic thing first. A marking gauge is small tool, mostly wood or metal, that has a beam and a sliding fence with a pin or a small wheel on it. You slide the fence to a distance, lock it, then drag the pin across your wood to draw a perfectly straight line.
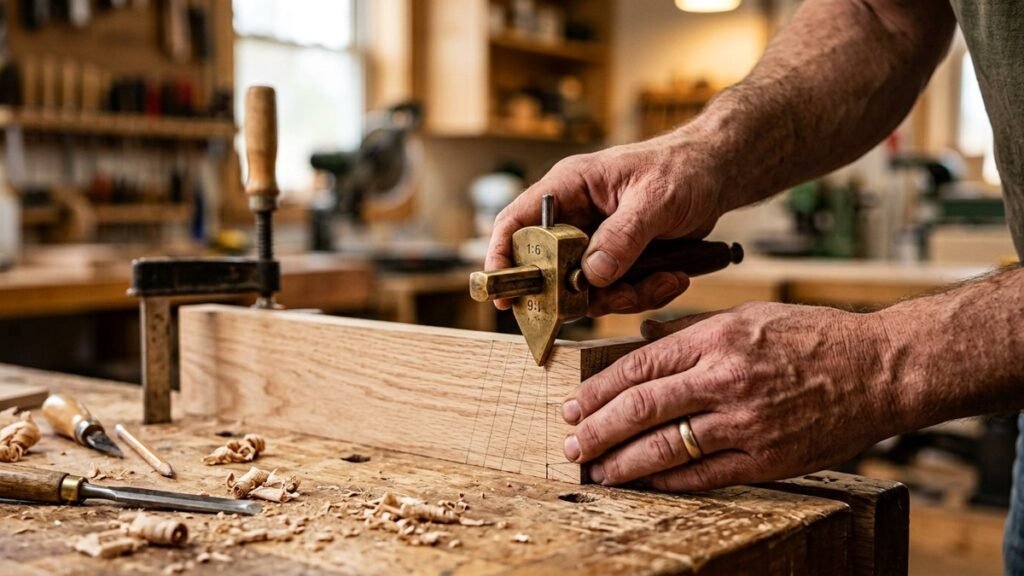
Now when this same tool is set up to help you draw those angled dovetail lines (the triangle shape joints), people call it dovetail marking gauge. Some are just normal gauge you angle yourself with a bevel, some come with the angle already built in.
Learning how to use a dovetail marking gauge is basically step one before you even touch a saw for dovetails. Without this step, your joints will look wonky, trust me I know from experience lol.
Why I Think Beginners Should Learn This First
A lot of beginner woodworkers, including past me, jump straight to cutting without marking properly. Big mistake. Huge.
See, dovetails need to match on both sides, the pin board and the tail board. If your lines are not exact same on both pieces, your joint wont fit tight. That gap looks bad and also makes joint weak.
So learning how to use a dovetail marking gauge properly saves you wood, saves you time, and honestly saves you from getting frustrated and quitting woodworking (almost happened to me in my first month).
Also this is a budget friendly skill. You dont need expensive dovetail jigs or router setups. A ten or fifteen dollar gauge and some practice, thats basically it.
Tools You Actually Need Before Starting
Before we get into how to use a dovetail marking gauge, let me list what you need on your bench. Keeping this simple and cheap on purpose.
- A marking gauge (wheel type or pin type both work fine for beginners)
- A sliding bevel or a pre angled dovetail marker (1:6 or 1:8 ratio is common)
- A sharp pencil or marking knife
- Your wood pieces, squared on the ends
- A bench vise or clamp to hold your wood steady, I already wrote a full budget vise guide if you dont have one yet
If you want more detail specifically on the gauge tool itself, I also made a separate post on choosing a marking gauge which pairs nicely with this one.
How To Use A Dovetail Marking Gauge Step By Step (My Real Process)
Alright here is the actual part you came for. Let me break down how to use a dovetail marking gauge in simple steps, exactly how I do it in my small home workshop.
Step 1: Set The Baseline First
Before angles, you need a straight baseline. Set your marking gauge to the thickness of your board (or little bit more if you plan to plane flush later).
Lock the fence tight. Then run the pin along the end grain on all four sides of both boards. This baseline tells you how deep your dovetails will go, so dont rush this bit.
Step 2: Mark The Tail Board First
Take your tail board, the one that will have the wider triangle shapes. Using your bevel gauge or dovetail marker set to 1:6 ratio (good for hardwoods, 1:8 is more for softwoods), draw your angled lines from the baseline.
This is honestly the trickiest part of how to use a dovetail marking gauge for most beginners including me. Take your time here, measure twice.
Step 3: Transfer The Lines To The Pin Board
Now flip your tail board over the pin board and trace exact same lines using your marking knife or pencil. This step is why practicing how to use a dovetail marking gauge matters so much, because one wrong transfer and both boards wont match.
Step 4: Square The Lines Down The Face
Using a small square, extend your angled marks down the face of the board to the baseline. Now you have your full cutting pattern ready.
Step 5: Double Check Before Cutting
I always, always check both boards side by side before picking up the saw. Seriously, this small habit saved me so many pieces of wood over the years.
Common Mistakes I Made (So You Dont Have To)
Ok real talk time, let me share my confessions.
My first attempt, I forgot to lock the gauge fence tight enough and it slipped mid mark. Line was all crooked, wood wasted. Lesson learned, always double check the lock screw.
Second mistake, I used same gauge setting for two different thickness boards. Rookie error. Now I always reset and recheck before every single project.
Third thing, I use to press too hard with the pin which tore the wood grain instead of scoring it clean. A lighter, more controlled pass actually gives cleaner lines, weird but true.
Marking Gauge vs Mortise Gauge, Whats The Difference
People ask me this a lot so let me clear confusion here quick.
A regular marking gauge has one single pin, good for one line at a time, like for our dovetail baseline. A mortise gauge on other hand has two pins, so it can mark two parallel lines together, mainly used for mortise and tenon joints.
Some combo gauges do both jobs which is nice for beginners on tight budget, one tool two uses. I actually recommend reading this detailed explanation from Paul Sellers about marking and mortise gauges if you want to go deeper into this topic, he explains tool differences really well from years of hands on experience.
For more general background you can also check Wikipedia’s page on the mortise gauge which has some good historical context on how these tools developed.
My Tips For Getting Cleaner Dovetail Marks
Few small things that helped me a lot once I actually understood how to use a dovetail marking gauge properly.
First, always keep your reference edge flat and square. Even tiny bump in your board edge throws off entire gauge line.
Second, use a wheel type gauge if you can afford it, even used ones on marketplace. Wheel cutters give cleaner cut across grain compared to plain pin, especially on end grain marking.
Third, mark with a knife not just pencil for your actual cut lines. Knife line gives your chisel and saw something to sit into, way more accurate than pencil alone.
Fourth, practice on scrap wood first. I still do this even after years, no shame in it.
Budget Friendly Options For Beginners
You genuinely dont need to spend hundred plus dollars starting out. Simple wooden pin gauge from local hardware store, or basic combination gauge online, works totally fine for learning how to use a dovetail marking gauge at home.
Once you get comfortable and start doing more furniture style projects, maybe then upgrade to a wheel gauge or dedicated dovetail marker with fixed angles. But for now, cheap and functional beats expensive and unused sitting in drawer.
If you are also just getting started with woodworking overall and unsure what tools to buy first, I wrote a whole beginner roadmap on how to get into woodworking which might help you plan your first tool purchases better.
My Final Thoughts
Honestly, learning how to use a dovetail marking gauge changed how my joints looked almost overnight. Before this I was eyeballing everything and results were, lets just say, not great lol.
It really isnt complicated once you do it few times. Set your baseline, mark your angles, transfer carefully, square it down, and always double check before cutting. Thats basically it.
If a school level English speaking guy like me from India can figure out how to use a dovetail marking gauge in his small home setup, you definitely can too. Just go slow, dont get frustrated, wood is forgiving mostly, except when it isnt haha.
Try it on scrap first, mess up a little, thats normal part of learning. That’s literally how I learned everything on this blog too.
FAQs
What is a dovetail marking gauge used for? It is used to draw straight baselines and angled lines on wood so your dovetail joints match perfectly on both boards before cutting.
Whats the difference between a marking gauge and a mortise gauge? A marking gauge has one pin for single lines while a mortise gauge has two pins for marking parallel lines together, mainly for mortise and tenon joints.
What angle should I use for dovetails, 1:6 or 1:8? Generally 1:6 works better for hardwoods and 1:8 suits softwoods, though many beginners just pick one and stick with it for consistency.
Can I use a regular marking gauge instead of a dovetail marker? Yes, a regular marking gauge works fine for the baseline, you just need a separate bevel gauge or template for the angled dovetail lines.