
Hello friends, myself Udit Das and I run easydiywood.com where I share simple wood project ideas. Today I want to talk about something that literally saved my early projects, and that thing is woodworking edge banding.
When I started this hobby few years back my plywood edges looked so ugly, raw layers showing everywhere, and I didnt knew what to do about it. Then one day I found out about this trick and honestly it changed everything for me.
If you also new to this and dont know what woodworking edge banding actually means, dont worry friend, I will explain in very very simple words, just like I am talking to you over chai.
What Is Woodworking Edge Banding Actually
So basically it is nothing but a thin strip that we stick on the rough side of plywood or MDF board. This strip is made either from real wood veneer or sometime from PVC material.
Why we even need this edge tape? Because plywood edges show those ugly layers, looks so cheap if left as it is. This method hides that layer part completely and make the whole thing look like solid wood piece.
I remember my first small table, I skipped this step thinking it not important. Trust me that project looked so bad from side that my own friend pointed it out, quite embarassing actually. That is why woodworking edge banding became such a big deal for me after that day.
Why This Trick Is Perfect For Budget Beginners
This whole banding thing is very budget friendly honestly. You dont need any big machine or expensive setup for doing it at your home.
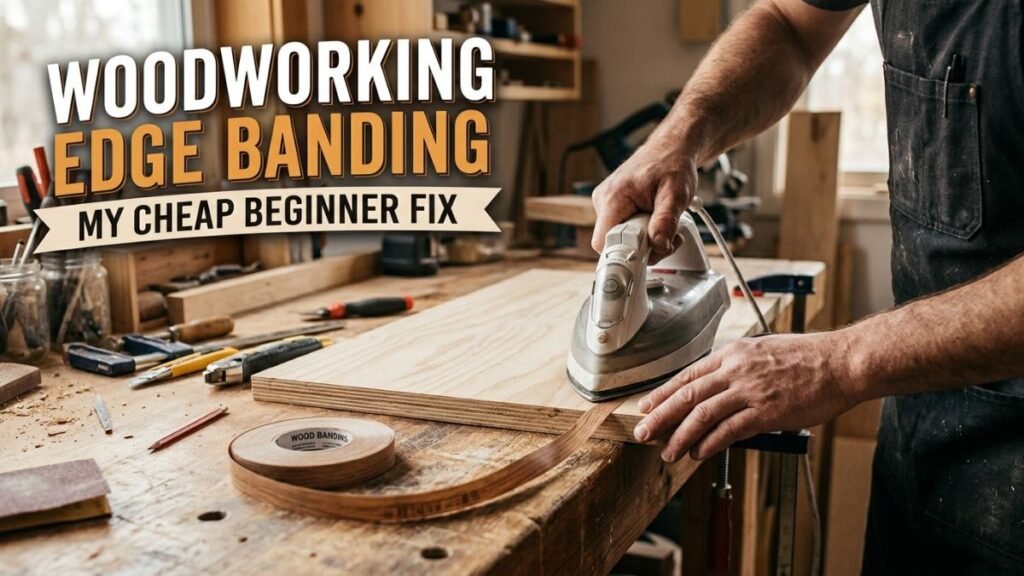
Just a normal household iron is enough for most small beginner projects, the same one your mom uses for clothes.
Compare this to buying solid wood plank which cost way more money, using plywood with edge tape saves so much cash and still looks premium finish.
I always tell new woodworkers in my small online group, if your budget is tight, learn woodworking edge banding first before anything fancy. It upgrades your project instantly without spending much money at all.
Honestly this whole technique is basically like a shortcut trick that professional cabinet makers also use, just we do it on smaller scale at home.
Tools I Actually Use For This Job
Let me list what you really need, nothing fancy I promise.
- Household iron, cotton setting works fine
- Sharp utility knife or scissors
- Sandpaper, 120 or 150 grit is good enough
- Edge trimmer tool, this is optional but helps a lot
- Small wood block for pressing
- Clamps if you have, I sometimes use my f clamps to hold plywood steady while working on woodworking edge banding
For this whole process you really dont need fancy machine like factories use. These simple tools are enough to start today itself. If budget is really tight and you dont have trimmer tool, utility knife also works, just go slow and careful.
Types Of Tape Used In Edge Banding
There are mainly three type available in market that I know of.
Iron on type is most common choice, it comes with glue already on back, just need heat from your iron.
Peel and stick type is also available now, you just peel the paper backing and press it with hand, no iron needed at all.
PVC or melamine type is used mostly in modular kitchen cabinets, more durable against water and daily use.
For beginners like us, I feel iron on woodworking edge banding is easiest option because it dont create extra glue mess everywhere.
Step By Step Process I Follow
Okay here is exactly what I do, nothing complicated.
First step is cutting the tape little longer than your plywood edge, maybe one inch extra on each side.
Next step in this woodworking edge banding process is placing the tape properly on edge, keeping equal overhang on both side so it look centered.
Heating part needs some patience. Take your iron, set on cotton mode no steam, and move slowly over tape till glue melts.
Pressing part is where most people rush, dont do that. Use wood block and press while tape still warm, this removes air bubble underneath.
Trimming finishes the job nicely, use utility knife or trimmer tool to remove extra length carefully.
Sanding is the last touch of this edging process, lightly sand so it blends smooth with rest of plywood surface.
Whole thing takes maybe 10 minutes per edge once you get comfortable. First time it might take longer, that totally normal, dont panic friend.
I read a helpful explanation on Family Handyman about the pressing technique which matched what I learned through my own trial and error too.
Mistakes Beginners Make With Edge Banding
Honestly I made so many mistake when starting, let me be honest here.
Burnt tape is common mistake, iron too hot for too long leaves ugly mark on veneer.
Bubble under tape ruins the whole look completely, this happens when you dont press properly with wood block while its still warm.
Wrong size cut spoils whole project, if you cut too short you get gap on the side which looks bad.
Using wrong wood species banding that dont match your plywood color after staining is another mistake I made, learned it the hard way on my first cabinet door.
If you avoid these small mistakes your woodworking edge banding project will look far more proffesional from your very first try itself.
Budget Tips For This Whole Process
Buy your edge tape roll in bulk if you planning multiple project, it saves money per foot compare to buying small pack every single time.
Also you dont need to buy expensive trimmer tool when starting out, utility knife plus a little patience works just fine for small projects like shelf or small box.
I already wrote a detailed guide on starting woodworking with low budget, it pairs really well with this topic if you are just getting into this hobby.
For those who dont want to use iron method at all, I found McCoys DIY center guide explains contact cement application pretty well too, worth checking if iron scares you.
One more small tip, always test your iron heat on a scrap piece first. This one step alone saved me so much wasted tape when I was still learning woodworking edge banding basics.
Edge Banding Versus Solid Wood Strip
Honestly both have their own place in this hobby.
Solid wood strip is more durable long term but cost way more and need more skill to fit properly along edges.
This tape method is faster, cheaper, and perfect for beginner who just wants clean finished look without spending too much time or money on it.
For my plywood coffee table project, woodworking edge banding was my final choice because honestly it was just easier for someone like me who still learning this craft.
What I Learned After Many Small Projects
After doing this on maybe ten or twelve small projects now, I feel much more confident with it.
Every board feels different somehow, some plywood edges are rougher, some are already quite smooth, so heating time change a little each time.
I still make small mistake sometimes, tape edge lifts a bit here and there, but now I know how to fix it fast without redoing whole strip again.
This is honestly the beauty of learning woodworking edge banding slowly, you get better with practice, not with buying fancy tools.
My Final Thoughts On This Whole Topic
So thats basically my honest experience with woodworking edge banding, nothing fancy, just real trial and error stuff.
It is not hard, it is not that expensive, and once you try it two three times you will get comfortable pretty fast, I promise.
For any complete beginner reading this, my advice is simple, just try this edge tape trick on one small scrap plywood piece first before touching your actual project.
I hope this woodworking edge banding guide helps you same way it helped me back when I was struggling with ugly plywood edges. If you have any doubt just go slow, mistake is part of learning this hobby, dont worry too much about perfection.
FAQs
What is woodworking edge banding used for? It is used to cover raw plywood or MDF edges so your project looks neat and finished, almost like solid wood.
Can I apply edge banding without an iron? Yes, peel and stick type or contact cement type banding dont need iron at all.
What thickness of edge banding should a beginner use? Usually thin veneer type around 0.5mm is easiest for beginners to handle and trim.
Is edge banding durable enough for kitchen cabinets? PVC or melamine edge banding is more water resistant and durable, good pick for kitchen use.