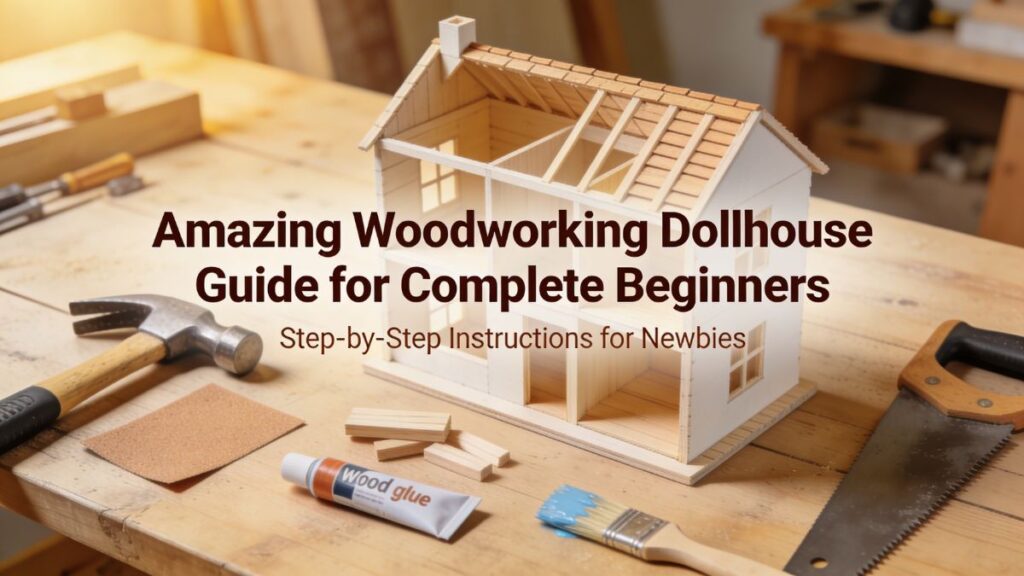
Hey friends! Its Udit Das here from easydiywood.com and today am super exited to share something really special with you all.
So last month, my niece came to visit me and she saw some wooden toys in my small workshop. She asked me uncle can you make me a woodworking dollhouse and honestly I didnt knew where to start at that time. But you know what, I spent like 2 weeks researching, making mistakes and finally building her a cute mini wooden dollhouse and now am gonna share everything I learned with you guys.
I know many of you are complete beginners like me when I started. Dont worry yaar, this whole woodworking dollhouse thing is not as scary as it sounds. Trust me on this one!
Why Build Your Own Woodworking Dollhouse?
Look, I was checking online and good quality mini wooden dollhouse can cost anywhere between $200 to $500 in USA market. That’s a lot of money right? Especially when you can build one yourself for under $50 to $80.
Plus theres something really special about making things with your own hands. When I gave that dollhouse to my niece, her face just light up knowing her uncle made it specially for her. You cant buy that feeling from any store I tell you.
The best part about diy dollhouse woodworking is you can customize everything. Want 3 rooms? Done. Want 5 rooms? Also possible. Want to add a tiny garden? Go ahead! Your the boss here.
Basic Tools You Need (Budget Friendly Approach)
Okay so here’s the thing, when I started looking at woodworking dollhouse plans, everyone was talking about expensive tools. But let me tell you what tools I actually used and you can too.
Essential Tools:
Saw You need something to cut wood. I used a simple hand saw first time. Yes it takes more time but it works perfectly fine. If you have access to circular saw or jigsaw, even better but not compulsary.
Measuring Tape This is super important. I made mistake of not measuring properly first time and one wall was shorter than other. Learn from my mistake please!
Sandpaper Get different grits like 80, 120 and 220. Your hands will hurt little bit but its okay. I used old newspaper under sandpaper to make it easier to hold.
Wood Glue This is your best freind. I used Fevicol (its common in India) but any good wood glue will work. Some people say use expensive glues but honestly normal wood glue works just fine.
Hammer and Small Nails For joining pieces together. Get thin nails so wood doesnt split. I learned this hard way when my first piece cracked.
Pencil and Scale For marking measurements. I still use my school geometry box sometimes!
Optional But Helpful Tools:
Brad nail gun makes life easier but costs money. Clamps help hold pieces while glue dries. Speed square for straight lines. But remember, you can make amazing dollhouse wooden furniture without these fancy tools also.
Choosing Right Wood for Your Woodworking Dollhouse
This part confused me alot initially. So many wood types available no? Let me make it simple for you.
Plywood This is what I recommend for beginners. Its cheap, easy to find and easy to work with. I used 1/2 inch plywood for main structure. In India, you can get decent plywood sheet for around Rs 800-1200 depending on quality.
Pine Wood If you want somthing little better, pine wood boards are good option. They are softwood so easy to cut and shape. But costs more than plywood.
MDF Board Some people use this but I found it too heavy for dollhouse. Also it dosent handle moisture well if you know what I mean.
For dollhouse wooden furniture, I used thin basswood strips and popsicle sticks. Yes popsicle sticks! They work amazingly well for making tiny furnitures. My niece favorite tiny chair is made from popsicle sticks only.
Step by Step: Building Your First Mini Wooden Dollhouse
Alright, now lets get to actual building part. Am not gonna give you super complicated canadian woodworking dollhouse type plans. Instead, am sharing simple beginner approach.
Step 1: Planning Your Design
First, decide how big you want your dollhouse. I made mine about 2 feet tall and 2 feet wide. Its good size for kids to play with but not too big that it takes up whole room.
Draw a simple sketch on paper. How many rooms you want? Where will floors go? Where you want windows? I spent like 2 hours just drawing different designs. This planning time saves lot of headache later trust me.
Step 2: Cutting the Wood Pieces
Measure twice, cut once. This is golden rule my grandfather told me.
For my simple dollhouse I cut:
- 1 base piece
- 2 side walls
- 1 back wall
- 2-3 floor pieces for rooms
- 2 roof pieces
Mark everything with pencil first. Use scale to draw straight lines. Then cut slowly. No need to rush yaar, slow and steady wins the race here.
One mistake I made was not sanding edges after cutting. Wood was rough and I got small splinter in finger. So please sand all edges smooth after cutting okay?
Step 3: Assembly Time
This is where magic happens! But also where things can go wrong if you not careful.
Start with base. Then attach side walls to base using wood glue and nails. Hold pieces together for minute or two before nailing so glue sets little bit.
I used small L-brackets from hardware store to make corners stronger. This is optional but helps alot specially if kids will play roughly with dollhouse.
Add floor pieces inside for different rooms. Make sure they are level. I used old spirit level my father had to check this.
Step 4: Adding Roof
Roof was tricky part for me. You need to cut pieces at angle so they meet nicely at top. I used 45-degree angle but honestly my first try was not perfect. Second wall I made came out much better.
If angles dont match perfectly, dont worry too much. You can use wood filler to fill gaps. Nobody will notice small imperfections once its painted I promise.
Step 5: Windows and Doors (Optional)
You can cut windows using jigsaw or even carefully with hand saw. I just drew rectangles with pencil and cut slowly.
For door, I didnt make opening door first time. Just painted a door shape on front. Much easier for beginners and kids dont really mind it.
Painting and Finishing Your Woodworking Dollhouse
After building comes the fun part decorating!
I used simple acrylic paints. Light colors work best I feel. White, cream, light blue, pink these all look nice. Let kids help with painting if possible, they love it.
Pro tip: Paint before adding too many details. Its easier to paint large flat surfaces than trying to paint around tiny furniture later.
For finishing, I used simple varnish on wood parts I wanted to keep natural looking. One coat is enough for dollhouse since its not going outside in rain or anything.
Making Simple Dollhouse Wooden Furniture
Now this is where you can get really creative with woodworking plans for dollhouse furniture.
Bed: Cut rectangular piece of wood, add four small wood pieces as legs. Boom, you have bed! I made tiny pillow from cloth scrap.
Table: Small wood circle with one leg in center or four legs in corners. Super simple.
Chair: This took me few tries. Cut small rectangular back piece and seat piece. Attach with glue. Add four matchstick size legs. Not perfect but works!
Shelf: Glue thin wood strips between two side pieces. I made tiny bookshelf this way.
Look, am not gonna lie, first furniture pieces I made looked bit wonky. But thats okay! Each piece you make, you get better. My fifth chair looked way better than first one.
Common Mistakes I Made (So You Dont Have To)
Let me share some silly mistakes I did during my diy dollhouse woodworking journey.
Mistake 1: Not checking if wood pieces are square before cutting. Result? Nothing fit properly together. Always check your measurements friends.
Mistake 2: Using too much glue. It squeezed out everywhere and made mess. Use thin layer only, enough to hold pieces together.
Mistake 3: Trying to paint before wood was sanded properly. Paint showed all the rough patches. Always sand smooth first.
Mistake 4: Not having patience. I tried to assemble everything in one day and made hasty decisions. Take your time, enjoy process.
Mistake 5: Not organizing wood pieces. I cut everything and then got confused which piece goes where. Label your pieces as you cut them.
Budget Breakdown for Complete Beginners
Since we focusing on budget friendly approach, let me give you rough idea of costs (in US dollars approximately):
- Plywood sheet: $15-25
- Wood glue: $5
- Sandpaper pack: $5
- Small nails: $3
- Paint (basic colors): $10-15
- Varnish or finish: $8
- Miscellaneous (pencil, paper etc): $5
Total: Around $50-70 depending on what you already have at home.
If you already have some tools and materials, cost can be even less. I used leftover wood from previous projects for furniture which saved money.
Safety Tips (Please Dont Skip This Part)
Look I know safety lecture sounds boring but its really important specially for beginners. If you want more detailed info, check out these basic woodworking safety guidelines from experts.
Always wear safety goggles when cutting wood. Wood chips can fly in eyes. I learned this when small piece hit my eyebrow area. Was scary.
If using power tools, read instructions carefully. Dont use tools you not comfortable with. Hand tools work fine for dollhouse projects.
Work in well ventilated area specially when painting or using varnish. I made mistake of painting in closed room and got headache from fumes.
Keep first aid box nearby. Small cuts and splinters happen. Be prepared.
If you involving kids in project, supervise them always. Give them safe tasks like sanding with your guidance or painting large surfaces.
Taking Your Woodworking Dollhouse to Next Level
Once you comfortable with basic woodworking dollhouse, you can try advanced things:
Add working lights using small LED and batteries. Add wallpaper using scrapbook paper. Create tiny garden with real small plants. Make miniature photo frames with family photos.
I saw some amazing canadian woodworking dollhouse designs online that had shingles on roof, tiny doorbell, even small mailbox. The possibilities are endless once you get hang of basics.
Where to Find Woodworking Dollhouse Plans
If you want detailed plans, here are some places to look:
Many woodworking websites offer free woodworking dollhouse plans. You can download PDF and print them. YouTube has tons of video tutorials. Sometimes seeing someone do it helps more than reading.
But honestly, for first dollhouse, dont stress too much about perfect plans. Simple box shape with rooms inside works great. You can always make fancier one later.
Teaching Kids Through Dollhouse Woodworking
This is something I didnt expect but building dollhouse with kids (or for them) teaches so many things.
They learn about measurements, shapes, colors. They understand how things are built. They develop patience and problem solving skills. Plus they learn that making things yourself is possible and rewarding.
My niece now wants to help me with every woodworking project. She asks questions about tools, wood types, everything. Its beautiful to see that curiosity developing in young minds.
Final Thoughts on Woodworking Dollhouse Projects
So friends, thats pretty much everything I learned from my woodworking dollhouse journey. Is it perfect guide? No. But its honest guide from someone who was complete beginner just few weeks ago.
The best advice I can give you is just start. Dont wait for perfect tools or perfect plan. Use what you have, start small, learn as you go.
Will your first dollhouse be perfect? Probably not. Was mine perfect? Definitely not! But you know what, my niece plays with it everyday and thats all that matters.
Woodworking dollhouse projects are for everyone not just professional carpenters or experts. If I can do it with basic tools and zero experience, so can you. Believe in yourself.
So what you waiting for? Go grab some wood, get your tools ready, and start building your mini wooden dollhouse. And hey, when you done, send me pictures! I would love to see what you create.
Remember, every expert was once a beginner who refused to give up. Your learning, your growing, and thats awesome.
Happy building everyone! May your dollhouse bring joy to little ones and satisfaction to you.
“By the way, if you enjoyed making this dollhouse and want to try something bigger for your little ones, I also made a DIY baby crib using woodworking and shared complete guide on my website. Its another beginner friendly project that saves lot of money compared to buying readymade cribs. Many parents have already built it successfully!”
Frequently Asked Questions About Woodworking Dollhouse
What is the best wood to use for a dollhouse?
For beginners, I recommend 1/2 inch plywood. Its affordable, easy to work with and strong enough for dollhouse structure. You can also use pine wood boards but they cost bit more.
How long does it take to build a wooden dollhouse?
For simple dollhouse, expect 2-3 days working few hours each day. If you doing it in weekends only, maybe 2 weekends total. Dont rush, enjoy the process!
Do I need expensive tools for dollhouse woodworking?
Not at all! I built my first dollhouse with hand saw, hammer, sandpaper and wood glue. Power tools make things faster but not necessary for beginners.
What scale should I build my dollhouse?
Most common is 1:12 scale where 1 inch equals 1 foot in real life. But for beginners, dont worry too much about exact scale. Just make it size that fits your space and budget.