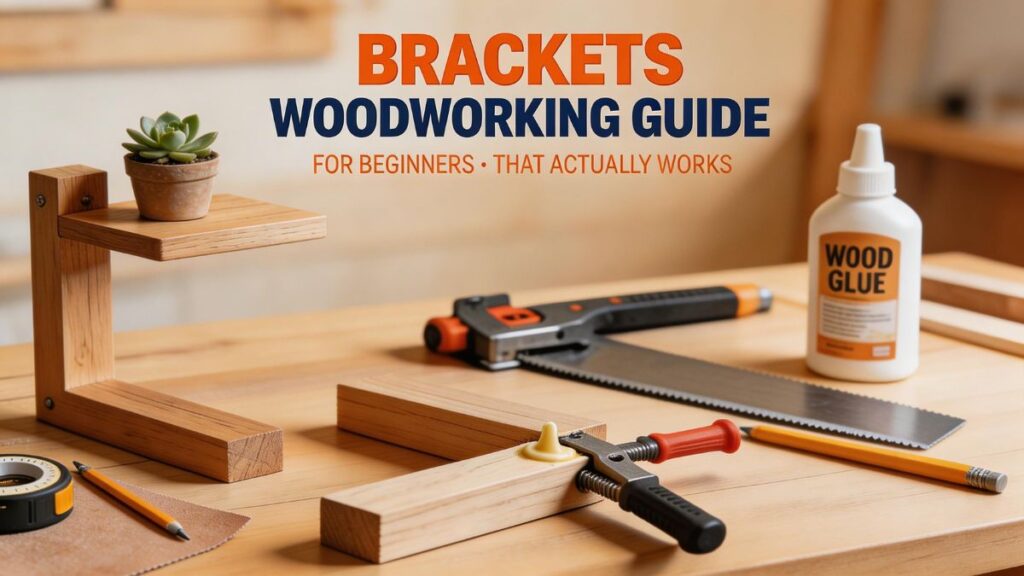
Okay so let me tell you something funny. When I first started doing woodworking at home, I had zero idea what brackets woodworking even means. Like seriously, I was trying to make a simple wall shelf and the whole thing just fell down because I used wrong screws and no brackets at all. My wife was laughing and I was just standing there looking at broken wood pieces on floor. That day I learned one very importent lesson, brackets are not optional they are necessary.
So if you are also a complete beginner like I was, dont worry. I am Udit Das and I run this small blog easydiywood.com where I share all my woodworking mistakes and what I learned from them. Today I want to talk about brackets in woodworking and how you can use them without spending too much money. Trust me, once you understand brackets, your DIY projects will become so much more stronger and you will feel more confident.
What Exactly Are Brackets in Woodworking?
So basically, brackets are those small pieces, mostly metal or sometimes wood, that you attach at corners or joints to make your project strong and stable. You know like when two pieces of wood meet at a corner? Thats where a bracket goes. It holds them together so they dont move or fall apart.
Think of it this way. If wood pieces are freinds, then brackets are the handshake that keeps them connected. Without that handshake, they will just fall away from each other eventually. Makes sense right?
Most brackets you will see are L shaped. They sit at 90 degree angle and connect two surfaces. But there are many more types too which I will explain below. The main job of any bracket is to give support and stop wobbling. Thats it. Simple.
Types of Metal Brackets Woodworking Beginners Should Know
Okay this part confused me a lot when I was starting. There are so many types of brackets and I didnt know which one to pick for what. Let me break it down for you in very easy words.
L Brackets or Angle Brackets
These are the most common ones. Shaped like letter L. You can use them for joining two wood pieces at right angle. I use these for almost everything, from shelf making to fixing wobbly table legs. Metal brackets woodworking projects become so easy when you have few L brackets in your toolbox. They come in small sizes like 1 inch to big ones like 6 inch. Price is also very low, you can get a pack of 10 for around 5 to 8 dollars.
Flat Metal Bracket for Wood
These are straight flat pieces with holes in them. They dont bend at any angle. You use flat metal bracket for wood when you want to connect two pieces in a straight line. Like if you are joining two boards end to end to make a longer piece. Very useful for repair work also. When my old bookshelf started cracking in the middle, I just put two flat brackets on backside and it became strong again.
T Brackets
These look like letter T. They are for places where one piece of wood meets another in the middle, not at the corner. I used these when I was building a small workbench and needed to attach the cross support in center of the legs.
Corner Brackets
These are bit thicker than regular L brackets. They wrap around the corner giving more support. Best brackets woodworking beginners can use when making furniture frames like small tables or stools. If you want to learn more about making your first stool, I have written a detailed guide on woodworking stool for beginners that you might find helpfull.
Heavy Duty Brackets
Now these are the big boys. Heavy duty brackets woodworking people use for serious stuff like supporting beams, pergolas, and big shelves that carry lots of weight. Heavy duty metal brackets for wood beams are usually made from thick steel and cost more. But if your project needs to hold 50 pounds or more, you should not go cheap here. Safety first always.
How to Pick the Right Bracket for Your Project
This is where most beginners make mistake. They just go to hardware store and grab whatever looks good. I did same thing and wasted money on brackets that were too small for my shelf. So here is what I do now.
First think about what your project will hold. Is it a light decorative shelf for showing small plants? Then small L brackets will work fine. Is it a kitchen shelf that will hold heavy pots and dishes? Then you need wall brackets woodworking grade, the thicker and wider ones.
Second thing is the material. Steel brackets are strongest but can rust if you use them outside without coating. Stainless steel is best for outdoor or bathroom projects because it dont rust easily. For indoor light projects, even zinc plated brackets work good and they are cheapest option.
Third thing, size matters a lot. Your bracket should be atleast 2/3 the depth of the shelf or surface it is supporting. I learned this the hard way when my 12 inch deep shelf was sitting on tiny 3 inch brackets. It was leaning forward like it wanted to jump off the wall haha.
Best Budget Friendly Brackets for Beginners
I know money is always a concern when you start woodworking. I started with very limited budget too. So let me share what worked for me without breaking the bank.
For most beginner projects you can get away with basic zinc plated steel L brackets. They are strong enough for shelves, small tables and picture frames. A pack of assorted sizes will cost you around 8 to 15 dollars and will last you many many projects.
If you want something that looks nicer for your living room shelves, look for decorative metal brackets for wood. These have nice curves and designs on them and they are made to be seen, not hidden. They cost little more, maybe 5 to 10 dollars per piece, but they add that wow factor to your shelf. Your guests will definetely notice them.
For heavy stuff like supporting a big countertop or thick wooden beam, you will need heavy duty brackets woodworking professionals use. These can cost 15 to 30 dollars each but they are worth it. Dont try to save money on these because if they fail, it can be dangerous.
One tip I always give is check your local hardware store clearance section. I have found so many good quality brackets at half price there. Also online stores like Simpson Strong-Tie have great options and you can check what size and type you need before going to store.
Shelf Brackets Woodworking Project for Beginners
Let me share a super easy project that you can do this weekend. Making your own wall shelf using brackets. This is how I started and it gave me so so much confidence.
What you need:
One piece of wood board, around 24 inch long and 8 inch wide. You can use pine because it is cheap and easy to work with. Two L brackets or decorative shelf brackets woodworking style, about 5 to 6 inch size. Four wood screws for bracket to wood connection. Four wall anchors and screws for mounting on wall. A drill, a pencil and a measuring tape.
Steps to do it:
Start by sanding your wood piece smooth. If you want to stain it for nice colour, thats totally your choice. I usually do light staining because raw wood looks little dull to me.
Mark on the wall where you want your shelf. Use a level to make sure marks are straight. This is importent because crooked shelf will drive you crazy every time you look at it. Trust me, been there done that.
Now hold your bracket against the wall, mark the screw holes with pencil. Drill pilot holes first, this prevents your wall from cracking. If your wall is drywall, use wall anchors. If you are lucky enough to hit a stud, direct screws will work perfectly.
Mount the brackets to wall first. Then place your wood board on top of the brackets. Screw the board to brackets from underneath. And thats it. You just made your first shelf using brackets woodworking style.
This project taught me how wall brackets woodworking should actually work. The feeling of seeing that shelf on wall holding your stuff is really something else.
Decorative Metal Brackets for Wood Projects
Now lets talk about making things pretty. Because woodworking is not just about strength its also about looks right? Decorative metal brackets for wood come in so many beautifull designs these days. You can find them in rustic iron finish, modern black matte, vintage bronze and even white colour.
I recently made floating style shelves in my living room using decorative brackets and everyone who comes to my house asks about them. The trick is to match the bracket style with your room decor. If your room has modern feel, go with simple clean line brackets. If you have farmhouse or rustic vibe, iron brackets with scroll designs look amazing.
For those of you who want to learn about giving your wood projects a proffesional finish, check out my guide on woodworking staining for beginners. Staining plus nice brackets can transform a simple piece of wood into something that looks expensive.
Wall Brackets Woodworking Tips and Common Mistakes
I see so many beginners making same mistakes I made. Let me save you some trouble here.
Mistake number one: Not using wall anchors in drywall. If you are not screwing into a stud, you absolutely need anchors. Without them your bracket will pull right out of wall when you put weight on it. I had this happen with my first kitchen shelf and it was not a pleasant experience. Broken dishes everywhere.
Mistake number two: Using brackets that are too small. Always go bigger than you think you need. A shelf bracket thats too big wont look as bad as a shelf that falls off the wall. So when you are buying best brackets woodworking can offer, always consider the weight capacity.
Mistake number three: Not drilling pilot holes. Some people just start screwing directly into wood. This can split the wood specially if its thin or if screw is near the edge. Always drill a small pilot hole first. As per Family Handyman guides, pilot holes should be slightly smaller than your screw size for best grip.
Mistake number four: Forgetting to check if wall is level. I once installed shelf brackets and the whole shelf was tilted 2 inches on one side. Had to redo everything. Now I always keep my level tool handy.
Heavy Duty Metal Brackets for Wood Beams
If you are planning something bigger, like supporting a wooden beam for a pergola or a loft bed, you will need heavy duty metal brackets for wood beams. These are completly different from regular shelf brackets. They are thick, usually 1/8 inch or more steel, and designed to carry hundreds of pounds.
For beam projects, you will typically see post brackets, joist hangers, and beam connectors. These are not the type you pick up casually at a store. You need to measure your beam size exactly and buy brackets that match those dimensions perfectly.
I havent done too many beam projects myself because I am still learning. But my freind built a beautiful backyard pergola last summer using heavy duty brackets and the whole structure is rock solid. The brackets he used were powder coated black and they actually look like a design feature, not just hardware.
One importent thing about heavy duty brackets woodworking projects is always follow local building codes. In many areas of USA you need specific types of connectors that meet safety standards. Simpson Strong Tie is one brand that most professionals recommend for structural work.
My Honest Experience with Brackets Woodworking
Let me be real with you. When I started, I thought brackets were like cheating in woodworking. Like real woodworkers dont use brackets they use fancy joints and all that. But thats not true at all. Even experienced woodworkers use metal brackets where needed.
I remember reading on a woodworking forum where someone said something like using brackets is not cheating, its smart building. And that changed my whole thinking. Now I use brackets in almost every project and I am not ashamed of it.
My best advice for beginners is start simple. Get a box of assorted L brackets, some screws, and just start building small things. A shelf, a small table, a storage box. Each project will teach you something new about how brackets work and where to place them for maximum strength.
The budget friendly approach is what makes woodworking accessible to everyone. You dont need expensive tools or fancy brackets to start. Just basic stuff from your local hardware store and willingness to learn from your mistakes.
Frequently Asked Questions
What size brackets do I need for a shelf?
Your bracket should be at least two thirds the depth of your shelf. So for a 9 inch shelf, use minimum 6 inch brackets.
Can I use wood brackets instead of metal?
Yes you can for decorative or light duty shelves. But for anything heavy, metal brackets are much more safer and stronger.
How many brackets do I need for one shelf?
For a shelf up to 24 inches, two brackets is enough. For longer shelves, add one bracket every 16 to 24 inches to prevent sagging.
Are decorative brackets strong enough to hold weight?
It depends on the bracket. Some decorative metal brackets for wood are quite strong and rated for 50 plus pounds. Always check the weight rating before buying.
What is the cheapest bracket for woodworking?
Basic zinc plated L brackets are cheapest. You can find them for less than 1 dollar each at most hardware stores in USA.
Do I need special screws for brackets?
Use the screws that come with your brackets if included. Otherwise use wood screws that are slightly shorter than the thickness of your wood so they dont poke through the other side.
Final Thoughts
So thats my complete take on brackets woodworking for beginners. I hope this guide helpped you understand what types of brackets are out there, how to choose the right one, and how to use them in your projects without spending too much money. Remember, there is no shame in using brackets. They make your work stronger, your life easier, and your projects look proffesional.
If you are just starting out, grab some basic metal brackets, a box of screws, and start your first project this weekend. You will make mistakes, I still make them, but each mistake teaches you something valuable. Thats the beauty of woodworking, its always a learning journey.
Keep building, keep learning, and I will see you in the next post. Happy woodworking freinds!